Once you have set up the formula variables (step 1) and created panel formulae (step 2) you are ready to assign the panels to your units.
Open the main Cut List window. Go to Production > Unit Panel List and load your catalogue.
Assigning Panels
Scroll down the list (or type a product code in the Filter) and then click on the unit you wish to assign panels to.
In the bottom window click ![]() Add
Add
In the new row, click to show your panel library and click on the required panel.
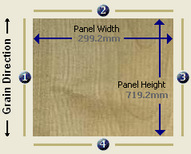
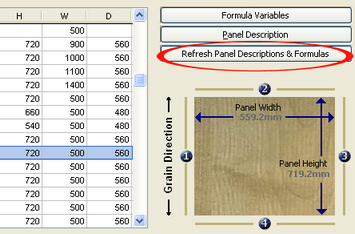
When you have selected the panel the dimensions will show their formula and the panel calculator will display the cut sizes.
Repeat the process to add all of the panels required for the unit. If a panel is not available create the panel and add it into the panel library by clicking Panel Descriptions.
Refresh
If you make any changes to panel descriptions or panel formulas or change edging in this screen, you need to click Refresh Panel Descriptions & Formulas. This will immediately refresh the screen to show the changes and it changes the panels on the units that require them.
Copy and Paste
Once you have completed a unit click the ![]() Copy icon and then click
Copy icon and then click ![]() Paste.
Paste.
You can paste the same panel list to:
•1 other single unit
•or all units within a similar category
Assign panels to all the units in your catalogue.
Click ![]() Update to save and close the window.
Update to save and close the window.


