The EQ appointments diary can be uploaded to Google Calendar. Your Google Calendar account can then be accessed online and shared with computers and mobile devices for easy access. This feature sends data on one direction only, to Google Calendar from EQ. Your EQ diary is the master.
Setup a Google Account
Before continuing you will need a Google Account with a calendar.
Sign up at www.google.com [EQ Software is not responsible for external websites]
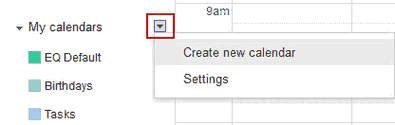
Optional – Multiple Calendars Within one Google account you can add many calendars or create multiple accounts (e.g. 1 for each staff member) To add a calendar in Google, click the arrow by My Calendars and Create new calendar (shown below)
When you have entered a name, the new calendar appears along the left side of the screen. |
Share your Google calendar
You need to share your Google calendar so that EQ Software can access it.
Within your calendar follow these steps:
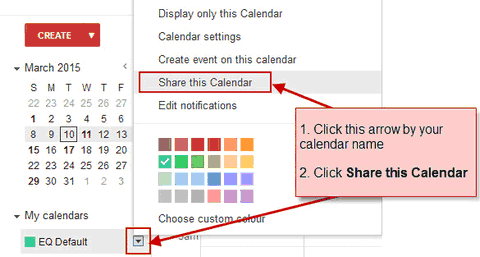
You will be taken to the calendar share settings.
Follow these 3 steps to enter the email address api@eqsoftware.net and then change the permissions to Make Changes AND manage sharing.

(Note if you do not see Make changes AND manage sharing then please see the note at the end of these instructions about Google Apps users.)
Click Save and go back to your calendar. You have finished the settings in Google Calendar.
Enter settings into the EQ Appointments Diary
1.On the toolbar click Appointments to open the EQ diary
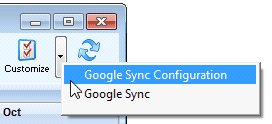
2.Click the dropdown arrow next to Customise
3.Select Google Sync Configuration
4.Tick Enable Google Sync to turn the feature on.
5.Complete the options at the top to select the number of days of data to sync. Optimal settings are 14 days after, 7 days before.
6.Select a Title Field and Where Field to show title and location when viewed in Google calendar.
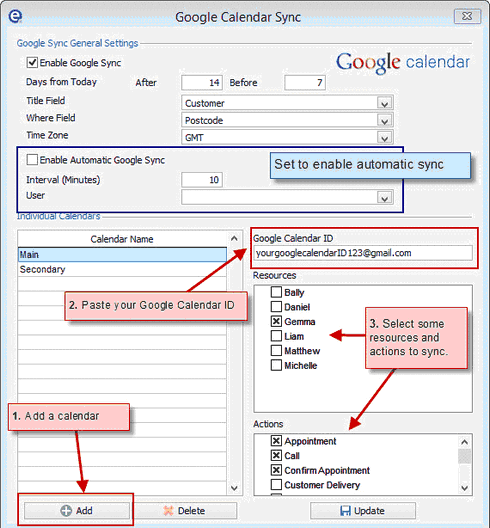
7.Select your time zone
8.Tick Enable Automatic Sync and select an interval to determine how many minutes the sync should take place in the background. Pick a user to run the sync and note that EQ will need to be running and logged in as this person for the sync to run
9.Click Add at the bottom to add your first calendar. You can repeat steps 10-13 to add multiple calendars.
10.Enter a friendly name for the calendar. This will help you identify the calendar in EQ (it does not need to match any name in Google).
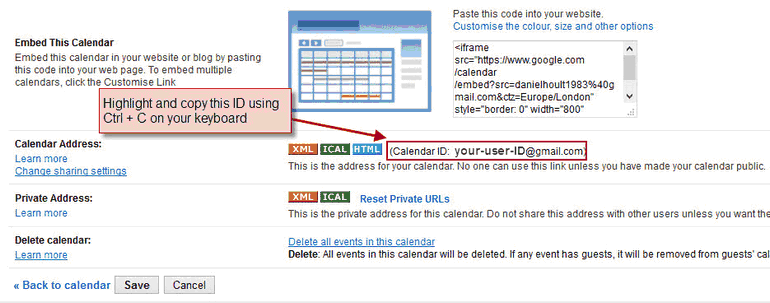
11.Follow these steps to find your calendar ID from Google calendar (screenshot below):
a) View your calendar
b) Click the arrow by the calendar name and pick Calendar Settings
c) Scroll down the page until you get to the part shown below. Highlight and Ctrl + C the calendar ID.
Synchronise Appointments
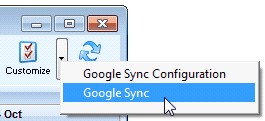
Use your appointments diary as usual and when you are ready to update your Google Calendar(s) click the drop down arrow next to the Customise button and click Google Sync.
Additionally you can return to Google Sync Configuration and tick Enable automatic sync. When automatic sync is enabled you will see a brief notification in the top right of the screen as the sync runs). Progress is displayed at the top right corner, as appointments are added, amended and deleted. Check your Google calendar and you will see the adjustments.
The data which is sent to Google Calendar relates to the data that you show on EQ’s diary. For example if you show Action, Resource and Customer on the appointment boxes, this will be the data within the Google appointment. You may want to show Notes so any text you enter against an appointment is also included.
Customise your diary in Tools > Customise > Appointments Diary. Here you can adjust the prompt sequence by picking headings. Only the selected prompts are synchronised to Google.
Note for users of Google Apps, where your Google account is managed by your company By default Google Apps for Business disallows access of your calendar sharing with anyone outside of your business addresses. Follow these steps to check authorisation on a global setting for your domain.
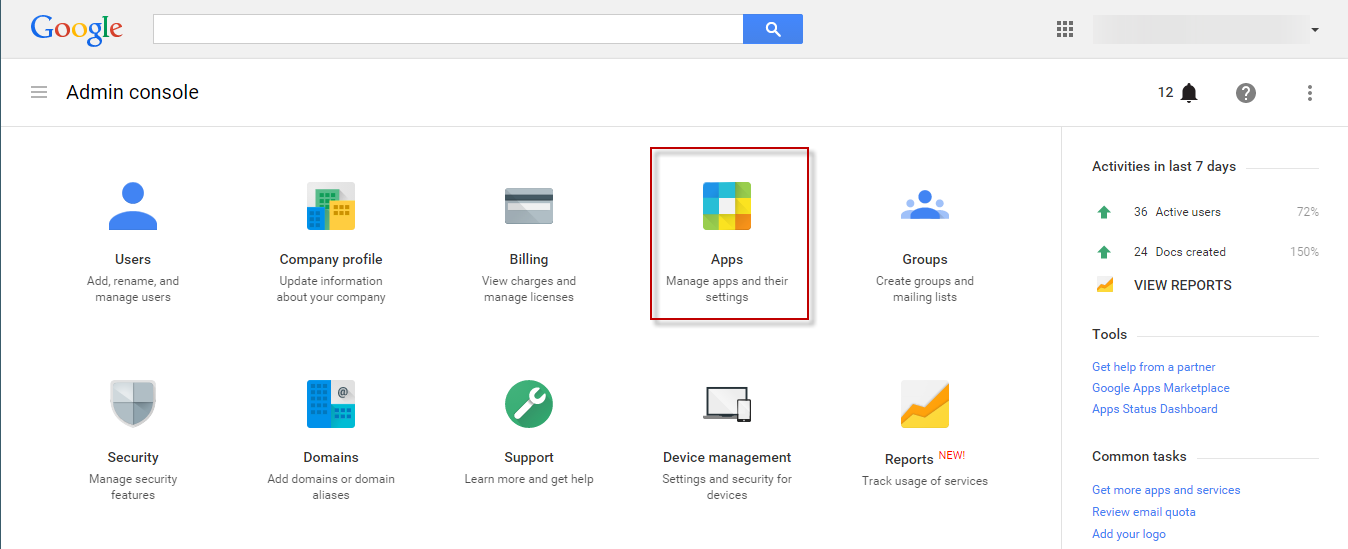
Begin by logging in to your Google account as the administrator for your business. In Mail, go to Manage this Domain to show the Admin Console as below
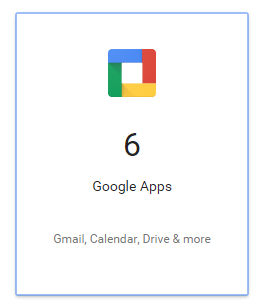
Click Google Apps on the next page
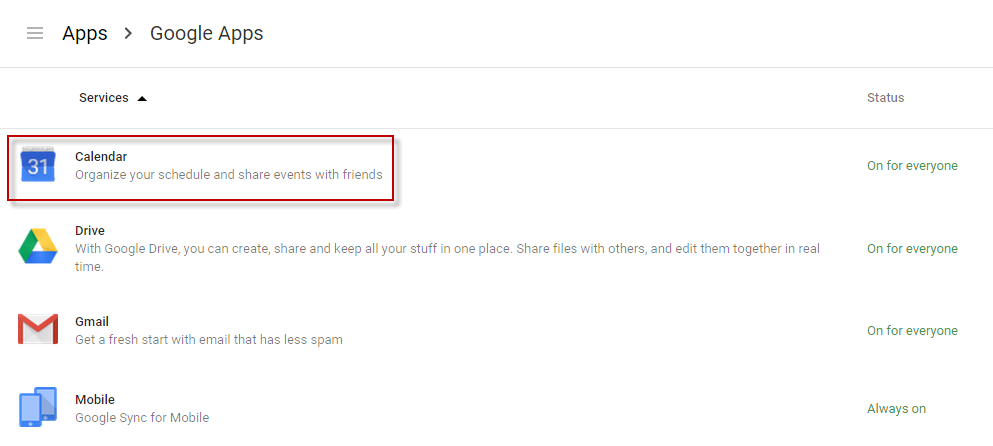
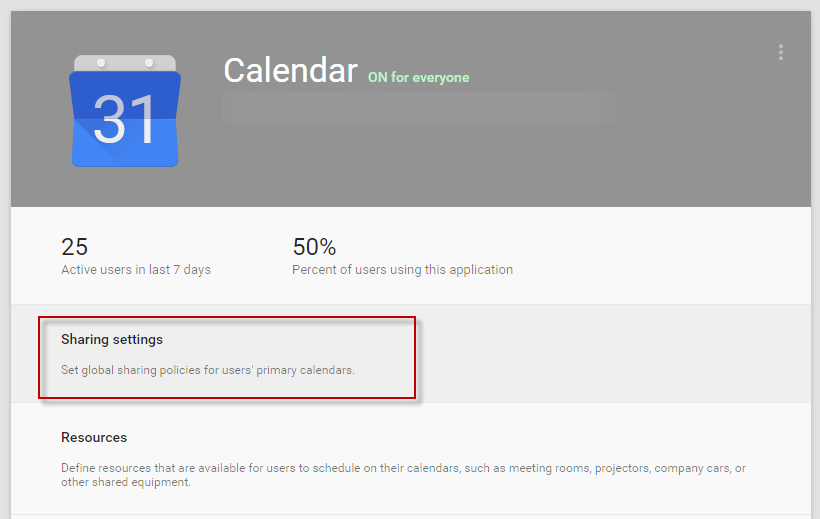
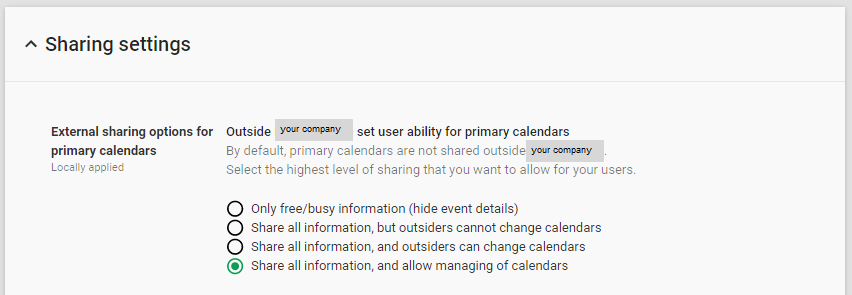
Click Sharing Settings
Select the bottom option to Share all information, and allow managing of calendars and Save
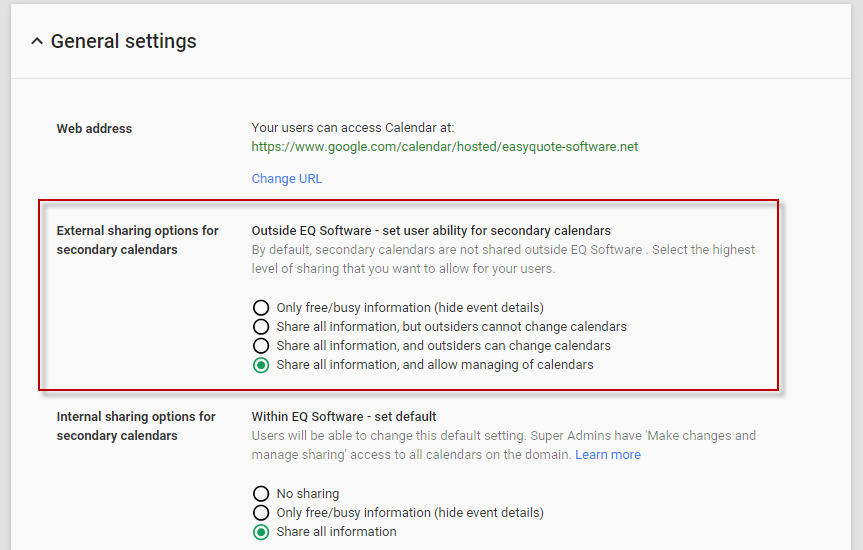
Scroll down and click General Settings
Repeat a similar step and select Share all information and allow managing of calendars
Save these settings. You will now need to log out and back in to your Google account in order to see further sharing settings available. |