Task Configuration is where you set up every Workflow task and the rules surrounding it's due date and further actions.
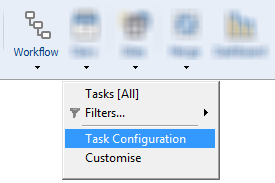
To open Task Configuration click the Workflow menu from the toolbar and click Task Configuration
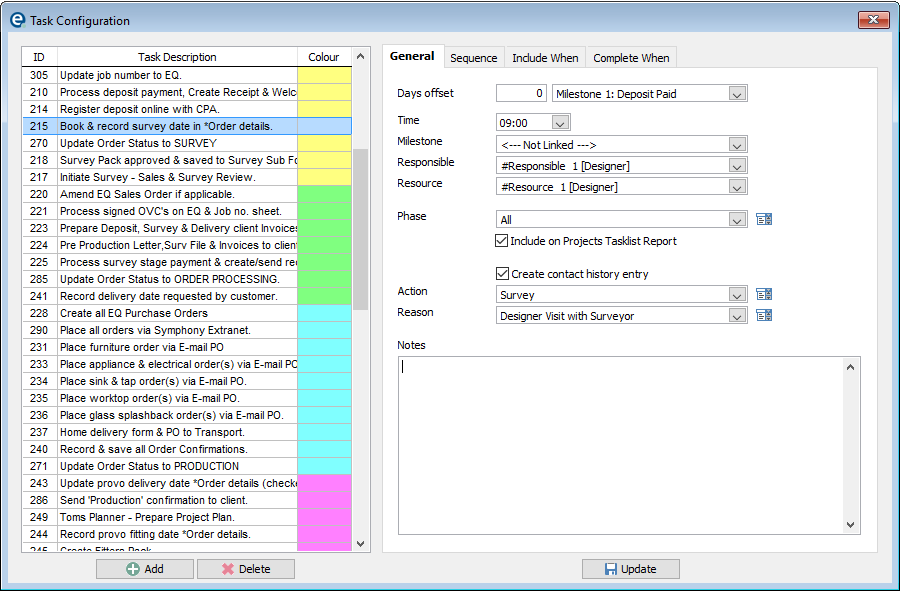
The first step in this screen is to add a task using the ![]() Add button. Type a task description and pick a colour by right-clicking the colour swatch.
Add button. Type a task description and pick a colour by right-clicking the colour swatch.
Each of the tabs on the right control the properties of the task as described below:
General Tab
| Days offset | This set's the due date of the task. It is based on the number of days after the date you select |
| (Or you can enter a negative value to make it due X days before, or enter a 0 to set it to the same date) Select the key date (from the accept screen) or milestone date that this is based on. |
| This task will be set X days after this date (a milestone saves the date too). If you select "Unlinked" the task will have no due date at all. You could manually right-click the date when you view the task list. (You can right-click a date (or date field) to lock it and won't re-calculate unless unlocked again) |
| Time | Time the task begins, important if using contact history. |
| Milestone | Select the milestone that you want to complete when this task is completed. |
Tip - You can use the 2 milestone instances here to make 1 task appear after the previous task has been completed.
| Responsible | You can set 10 generic resources and 10 generic responsible users. E.g. surveyor, fitter, designer, etc which can then be set globally for each job (to save you setting every resource on every task). |
| Resource | Select the person or resource that will be completing the task/action. This comes from the Resources list which is common across EQ. |
| Include on Projects Tasklist Report | Tick to show the task when using print on an order's workflow. Useful for customer facing tasks, whereas you may wish to hide internal tasks if you give the printout to your customer. |
Create contact history entry Tick the box to create a contact history item when the task is created, and complete the action, resource and reason.
| Notes | Appear in the contact history (if selected) |
Sequence Tab
Drag and drop to change the order of the tasks. They will display in this sequence when applying tasks for an order.
For each task you can create rules from the following headings so the tasks are dependent on those rules.
E.g. add a task when product X is used on a quote, or when an order status is changed to a particular status.
When you have 2 columns to select data untick Include All and then click and use the --> button to move to the included list on the right
Products
Add, using the standard search screen, products that this task applies to. Leave blank so that the task will be created regardless of products.
Types & Categories
Add the task when certain product types/categories area dded to the quote/order or purchase order. By default this is on “all”
Rooms
Add the task for specific room types. Room types are added in Tools > Customise > Validation rules. By default it is set to include all.
Customer Status
Add the task when a status of customer is changed. Customer status is set from the customer screen, General tab.
Order Status
Add the task when a status of the order is changed. Order status is set from the right-click option of the sales order ref.
Order Types
Shows different order types that you can tick to include. Select full orders, remedials, addons, quotes, sales orders. For advanced criteria you can use programming code in the Calculation box.
Milestones
Add the task when set milestones have been completed. i.e. the task will not appear until the milestone(s) you put on the right hand side have been completed. Milestones are setup by right-clicking an Order Ref. See here for milestone setup.
Tasks
Add the task when another task has been completed (similar to milestones above). This means the task becomes dependent on another (previous) task and will not show until the task(s) you put in the Included list have been completed.
As well as tasks being created when an activity occurs (as above) tasks can also set a shortcut for a further action. i.e. If a task involves emailing a customer, then you can pre-set an email template and have that linked to the task. You can then use a right-click in My Tasks to get straight to sending your email.
When you have 2 columns to select data untick Include All and then click and use the --> button to move to the included list on the right.
Email
Select from your list of email templates. When the selected email is sent, the workflow task will be completed. E.g. an order acnkowledgement is emailed and completes the task "Send Acknowledgement"
Text
Select from your list of text templates. When the selected text is sent, the workflow task will be completed. E.g. your order has been despatched and completes the task "Despatch"
Word document
Click to add a Word file, such as a letter so that when the document is merged the task becomes complete.