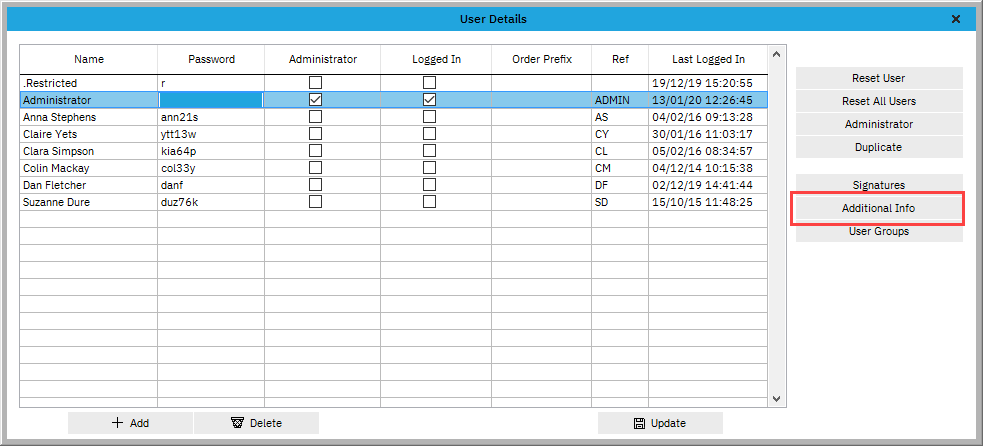
Click Tools > Users, highlight a username and click the Additional Info button on the right.
The screen below will open and show all of these settings which can be set for individual users:
Alternative Address
When you have staff at different branch locations enter an address here to override the default company address.
Delivery Address
When you have staff at different branch locations enter an address here to override the default company delivery address.
Logo
You can set a different userlogo to override the default, e.g. include direct phone line.
Customer Folders
Set a different file path to customer folders, click browse ![]() to pick a new location.
to pick a new location.
This will override the system-wide file locations.
Locking
Select a sales person or branch location to lock the customer list. When users login and use the customer window they will only be able to see customers for the chosen salesman/branch.
Note you can only pick one locked filter, not both.
Sage Passwords
Only applicable to the accounts link (additional module). When using the accounts link you need to enter your accounts package user name and password.
These settings allow you to pick default options for when a user starts new contact history. This would save the user always having to pick the same option if they do lots of repeat bookings.
Pick the defaults from the drop down list for:
Default Resource: Pick a resource name and tick the box to set as the default.
Default Action: Pick an action from the drop down list
Default Duration: Pick a default duration from the drop down list
Tick the "Default to current time" box to have the time pre-set. It will pick the closest 15 minute
Click ![]() Update when finished to save and close the window.
Update when finished to save and close the window.
For each section of the projects screen you can set a restriction on which filters each user can access.
By default all users can access all sections. Pick from the drop down box:
<--No Restrictions--> The user can access all parts of the window
<--Filters Only--> The user can only access the saved filters that you have set in projects (and no more)
[Name of filter] All of your saved filters are listed here and the user can only access that 1 filter in the window.
Appointments Diary Select a saved filter which already exists on the appointments diary. This user will only be able to access the filtered data on the diary.
Email User Information
In addition to the settings in Tools > Customise you can set a unique e-mail account for each user to send mail from. If an account at user level is specified, this will be used instead of the email settings in the global customise screen.
Tick the box "Use settings" to enable, and follow the same rules as the information in e-mail customise.
CC Address
Enter an email address for a recipient who you would like to be sent a copy of every email that is sent by this user via EQ.
Outgoing mail (SMTP)
Specify your email provider's outgoing server and the port number below.
Tick Requires SSL if advised by your mail provider
Authentication Type
Select the authentication type your mail server requires. If you are unsure start by using "Plain".
Incoming mail
Enter your incoming email server here (compatible with IMAP server). This is a user specific setting that overrides the email account set in Customise.
Port
Enter your incoming mail server port number.
Enable
Tick to enable the automatic inbox checking. EQ will read and sort your incoming email and import new messages into the contact history by matching the recipients email address with your customer database.
Text (SMS) Settings
Text Originator
In addition to the settings in Tools > Customise (for the whole company) you can set a unique "from" name for text messages that this user sends, e.g. customer service department could have a different identifier to the despatch texts.
Discounts
You can set Discount Restrictions to ensure a maximum level of discount that the currently selected user can give.
Tick Enable and set a percentage in the box
You can specify maximum discounts on certain catalogues in the grid below. Ensure you also tick Enable.